
For this task we had to come up with an idea for a new product, based on a whisk. I was teamed up with my classmate Julie Lien to do this.
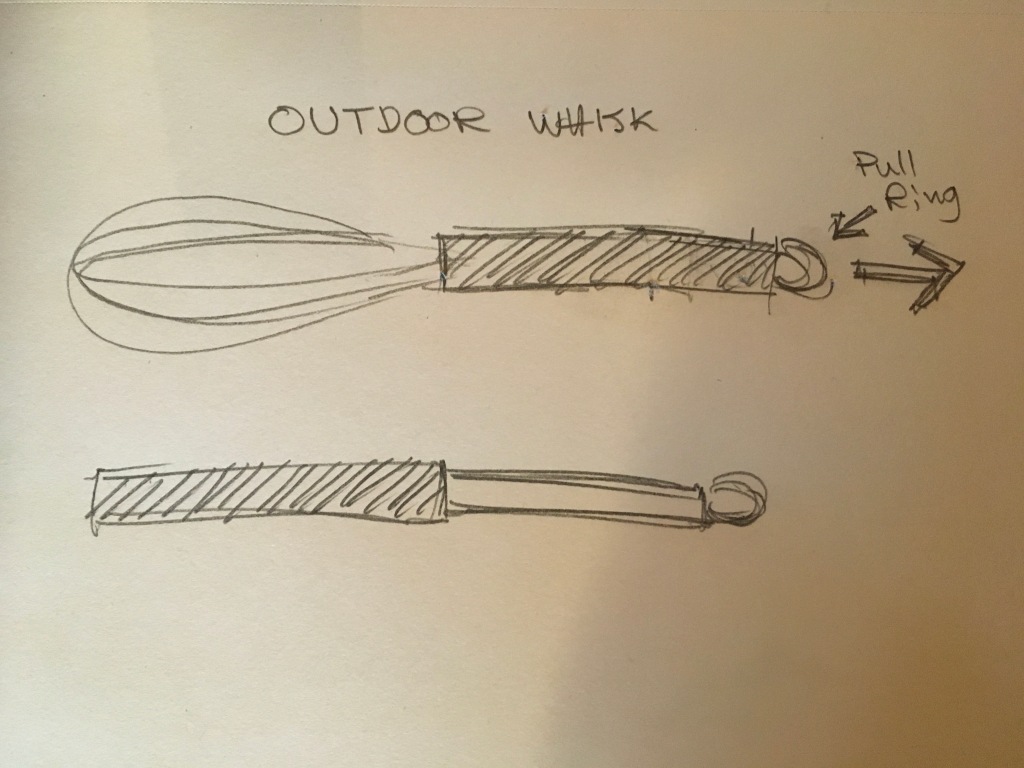
We decided to start off by drawing sketches of our first ideas, each on our own. We then sent the sketches to each other to start combining ideas. The idea we settled on was to make a whisk for outdoor cooking.
From our base idea we started going through the SCAMPER-technique to improve the product.
Substitute
First of all, for the product to be best possible suited for outdoor use, it had to be lightweight. A whisk in its regular form isn’t the heaviest equipment to bring on a trip, but we decided to substitute the regular aluminium handle for one made out of titanium to reduce weight. This is also a popular material used for hiking equipment in general.
Combine
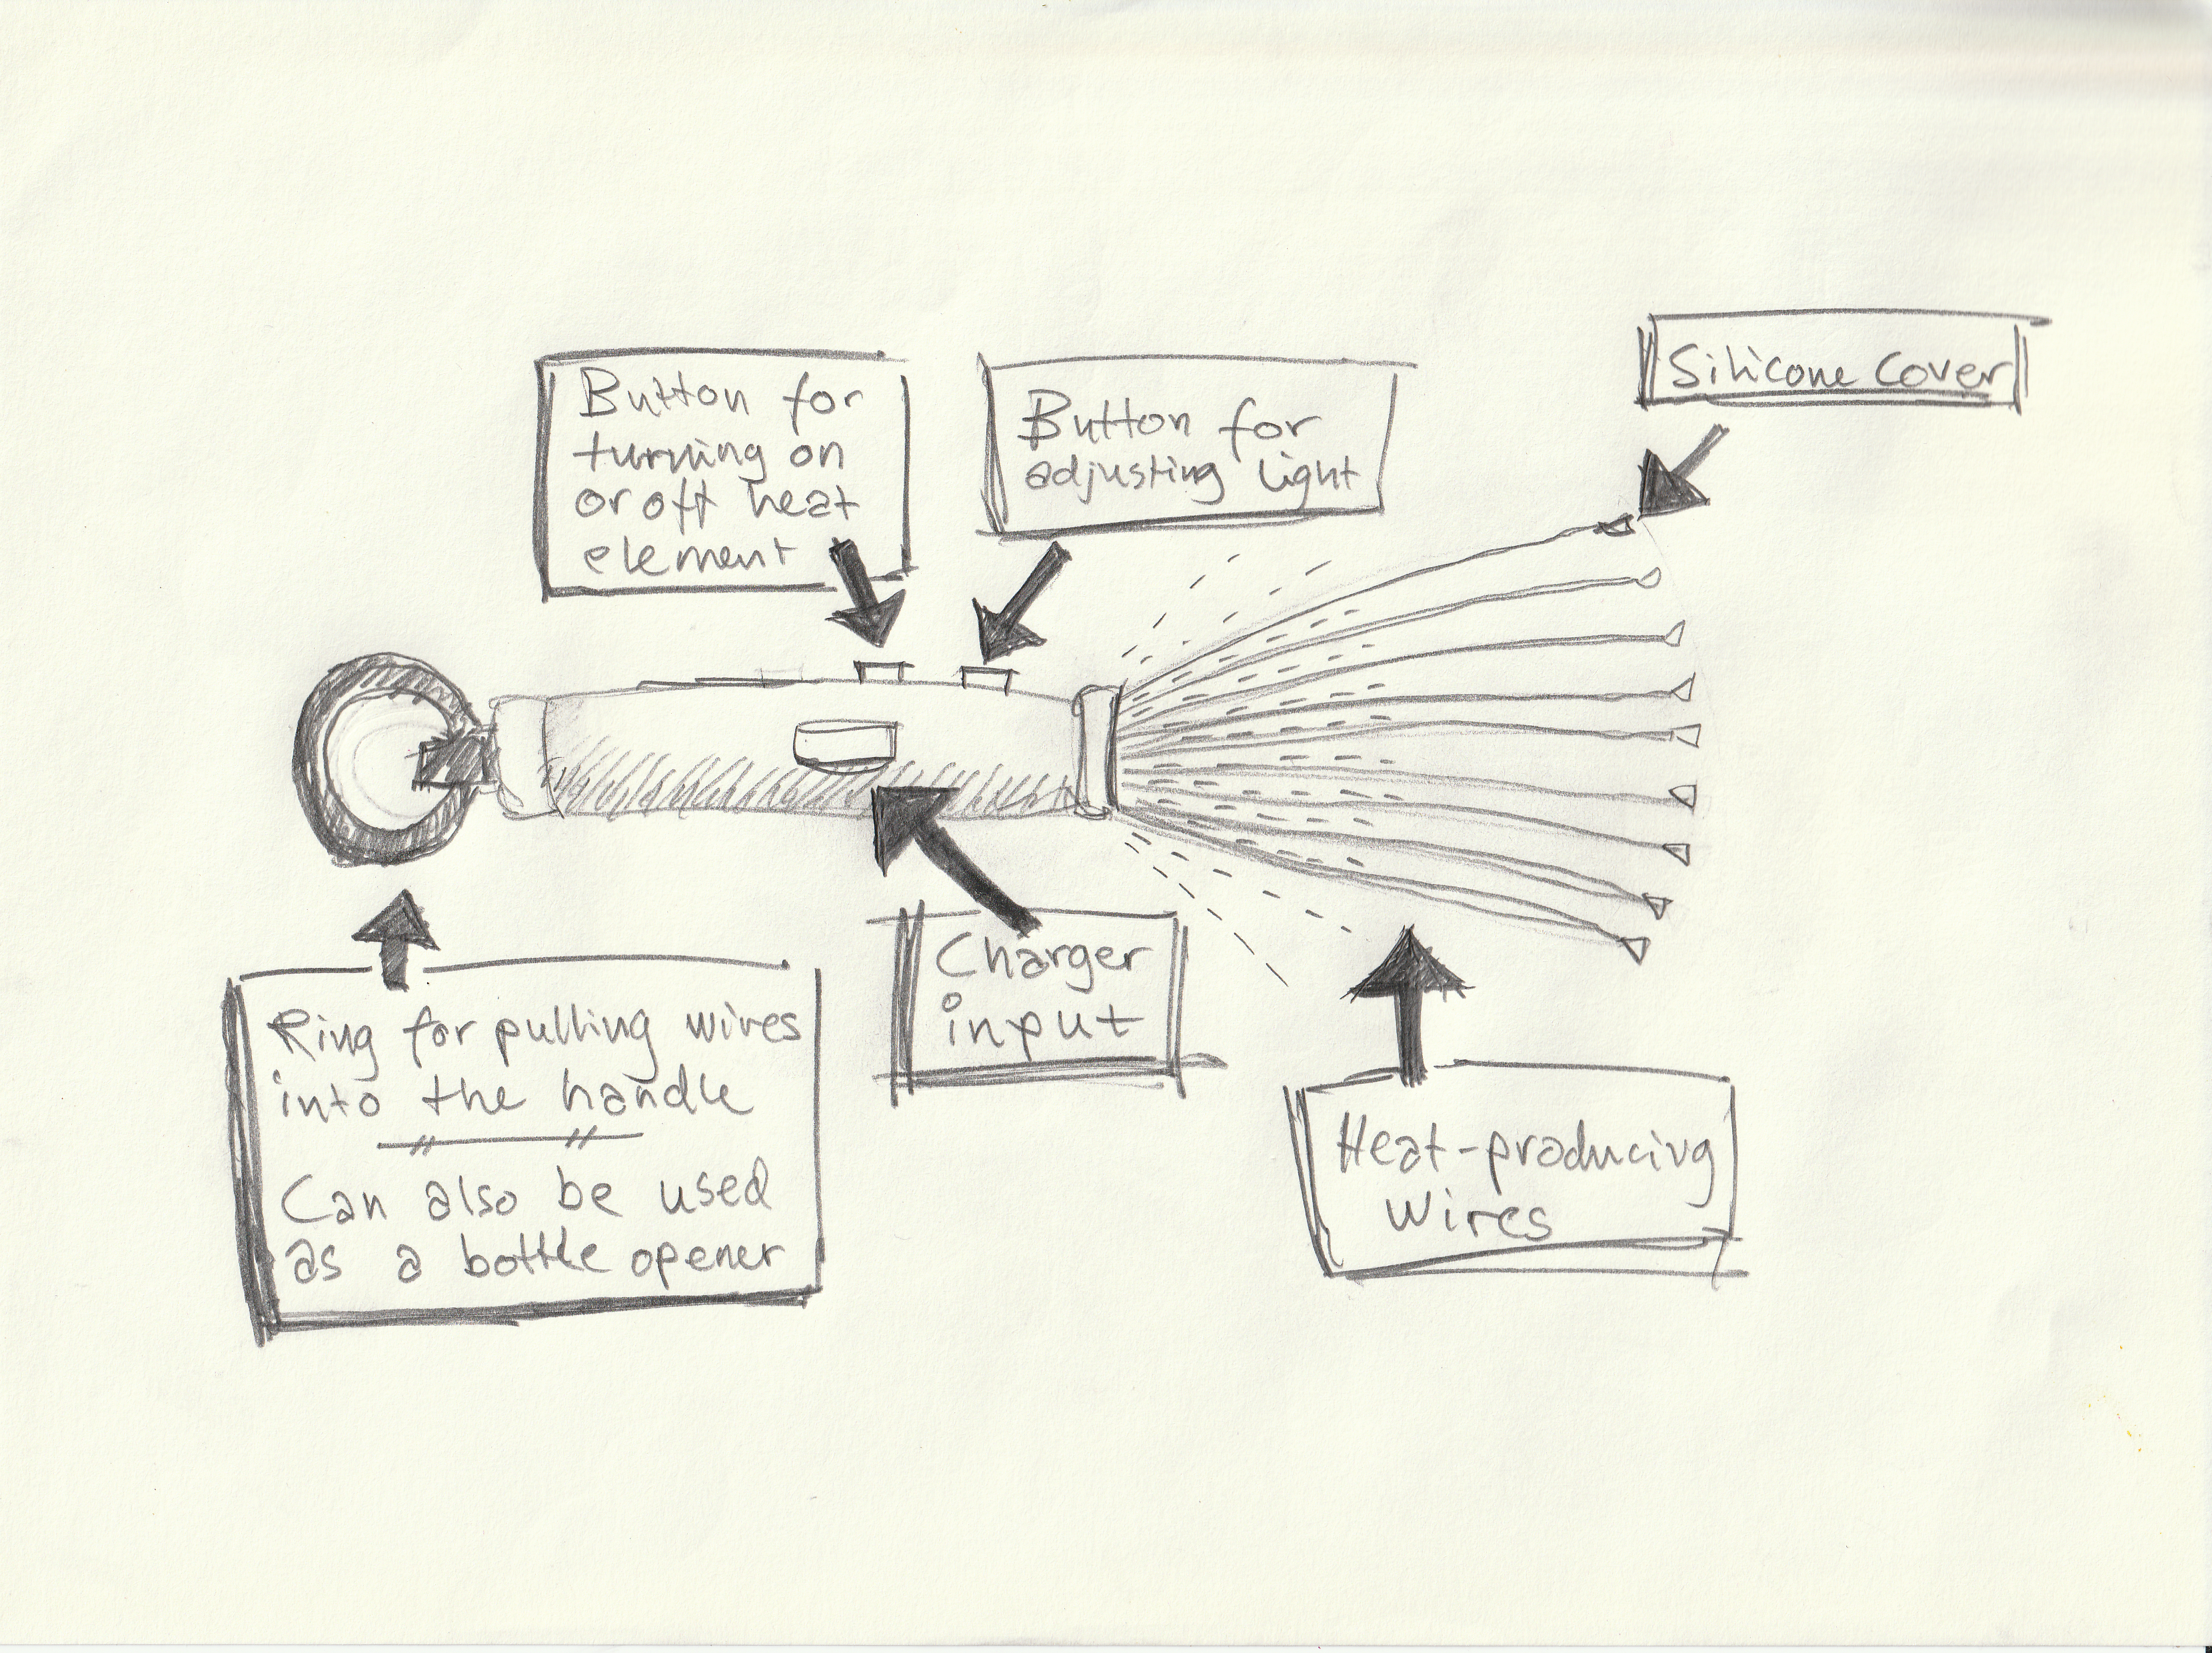
Julie’s base idea was let the whisk produce heat on its own. By combining the original use of the whisk with a heat source, it would be possible to cook food outdoor only using the whisk — without the need to make up a fire or to use an outdoor stove etc. The whisk would eventually run out power, and we figured the most convenient way to solve this problem was to make the whisk rechargeable, through an USB-port. This way, it can be recharged by a portable charger, a device that many hikers already own. Also, since our product would be used for cooking, thus be in contact with liquids, we figured we needed to add a protective cover on the opening of the USB-port
Adapt
I based my first sketch on the design of some extendable barbecue skewers that are made for backpacking purposes. These have a telescopic function for extending the length. I wanted to adapt the idea of the collapsable skewers into the design of the whisk. This function would minimize the product’s size and protect the whisk’s most vulnerable part when packed up. It would also cover the hot part of the whisk after use. The whisk would have a ring attached at the end to pull the loops inside the handle.
Modify or Magnify
Since the whisk would be able to produce heat on its own (as mentioned under Combine), it would have to contain a power source. The electric power could also be used for other purposes. We decided to add a light to the whisk. This way, one can cook with the whisk even in the dark, without the need of another light source. Overlapping with the next SCAMPER-technique, the whisk could also be used as a regular flashlight. For cooking, the light output doesn’t need to be very strong. Therefore, we wanted to give the whisk two light modes: One for cooking, and one for walking around — with increased strength and beam distance.
Put to other uses
We found that the ring at the end of the whisk also could be used for other purposes besides pulling the loops inside the handle. We settled on the idea of making a bottle opener out of the ring.
Eliminate
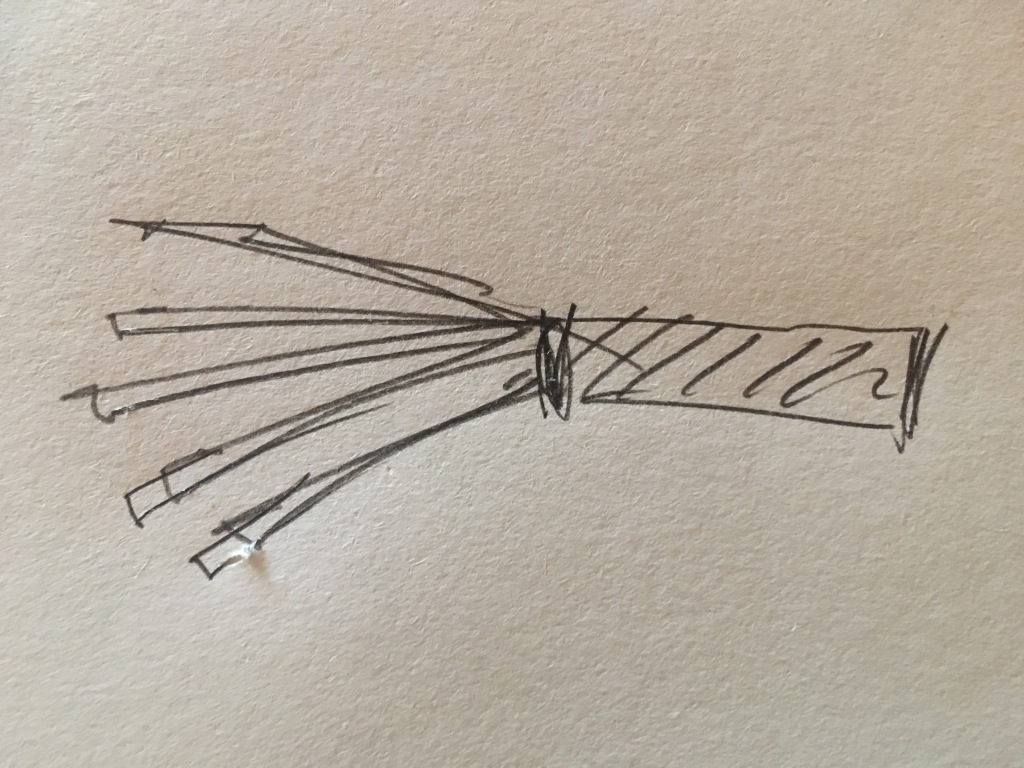
For the whisk to be collapsable (as mentioned under Adapt) we had to change the whisk’s shape. It wouldn’t be possible for the regular balloon-shaped loops to be threaded into the handle, and would therefore have to be eliminated. Instead, a group of single wires would be used. On the end of each wire, silicone would be added to avoid sharp edges. Changing the shape from loops to wires would also eliminate some unnecessary material on the whisk.
Rearrange or Reverse
A whisk is a cooking utensil generally sold in a kitchen supply store. For our product, we found that the main marked for our product would rather be through a store that sells outdoor and hiking equipment. Since the whisk would take a lot of power to use over time, we also thought about the idea of selling it together with a portable charger.
FINAL PRODUCT
This is my take on the final product:
Julie’s LT 2.2 (link)